Settings Overview
Access Settings
- Access your site's WordPress Admin Dashboard.
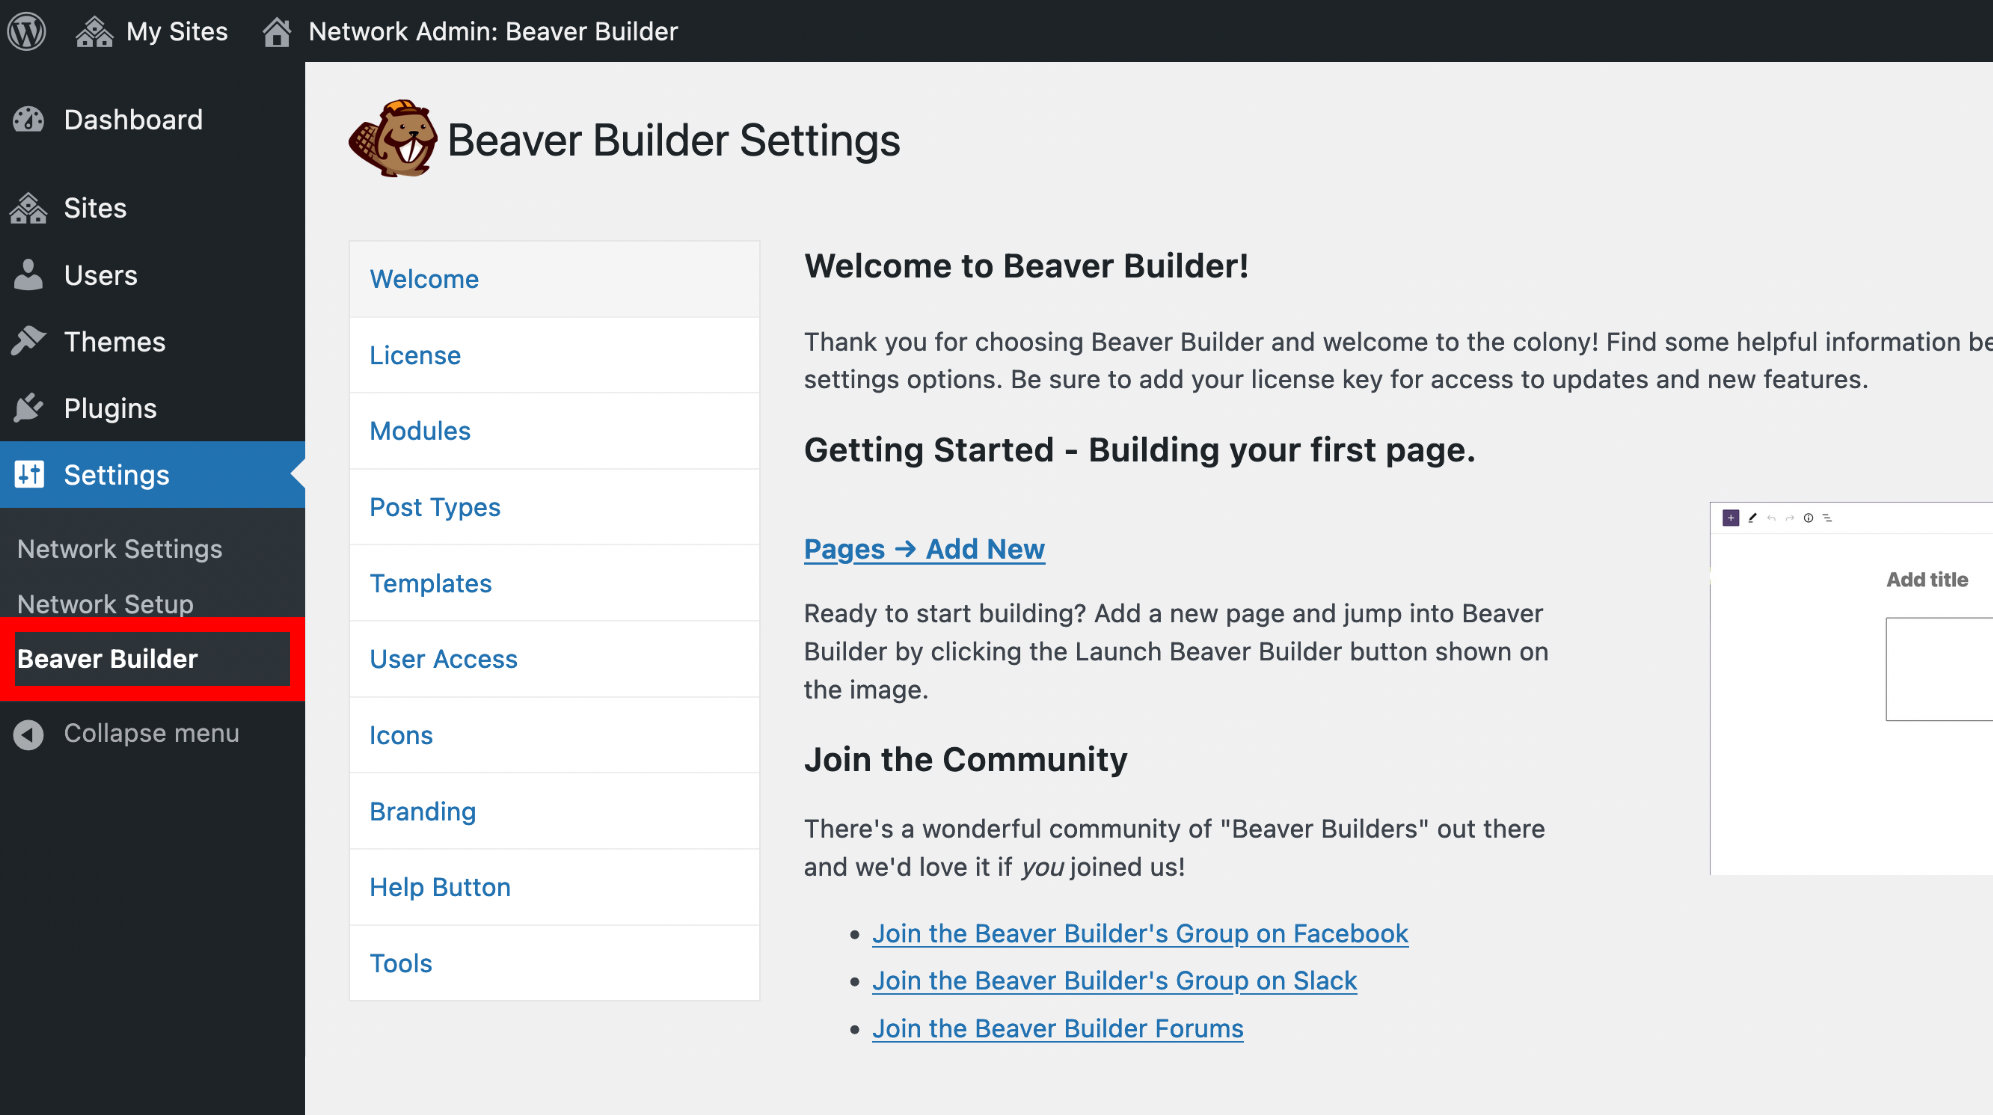
- Navigate to Settings > Beaver Builder.
The Agency license of Beaver Builder allows white labeling to display any other name you choose and a custom logo image. Therefore, the label (Beaver Builder) on the WordPress Admin Dashboard > Settings > Beaver Builder may be different.
Network-wide settings (Ultimate & Agency only)
The Network-wide settings are available on the WordPress Multisite installation main site when accessed as the Network Admin and allow you to configure Beaver Builder for all sub-sites on the network.

You can, for instance, enter your license key on the Network-wide settings and the license key will be used on all sub-sites, allowing the sub-site administrator to update Beaver Builder.
Override Network-wide settings (Ultimate & Agency only)
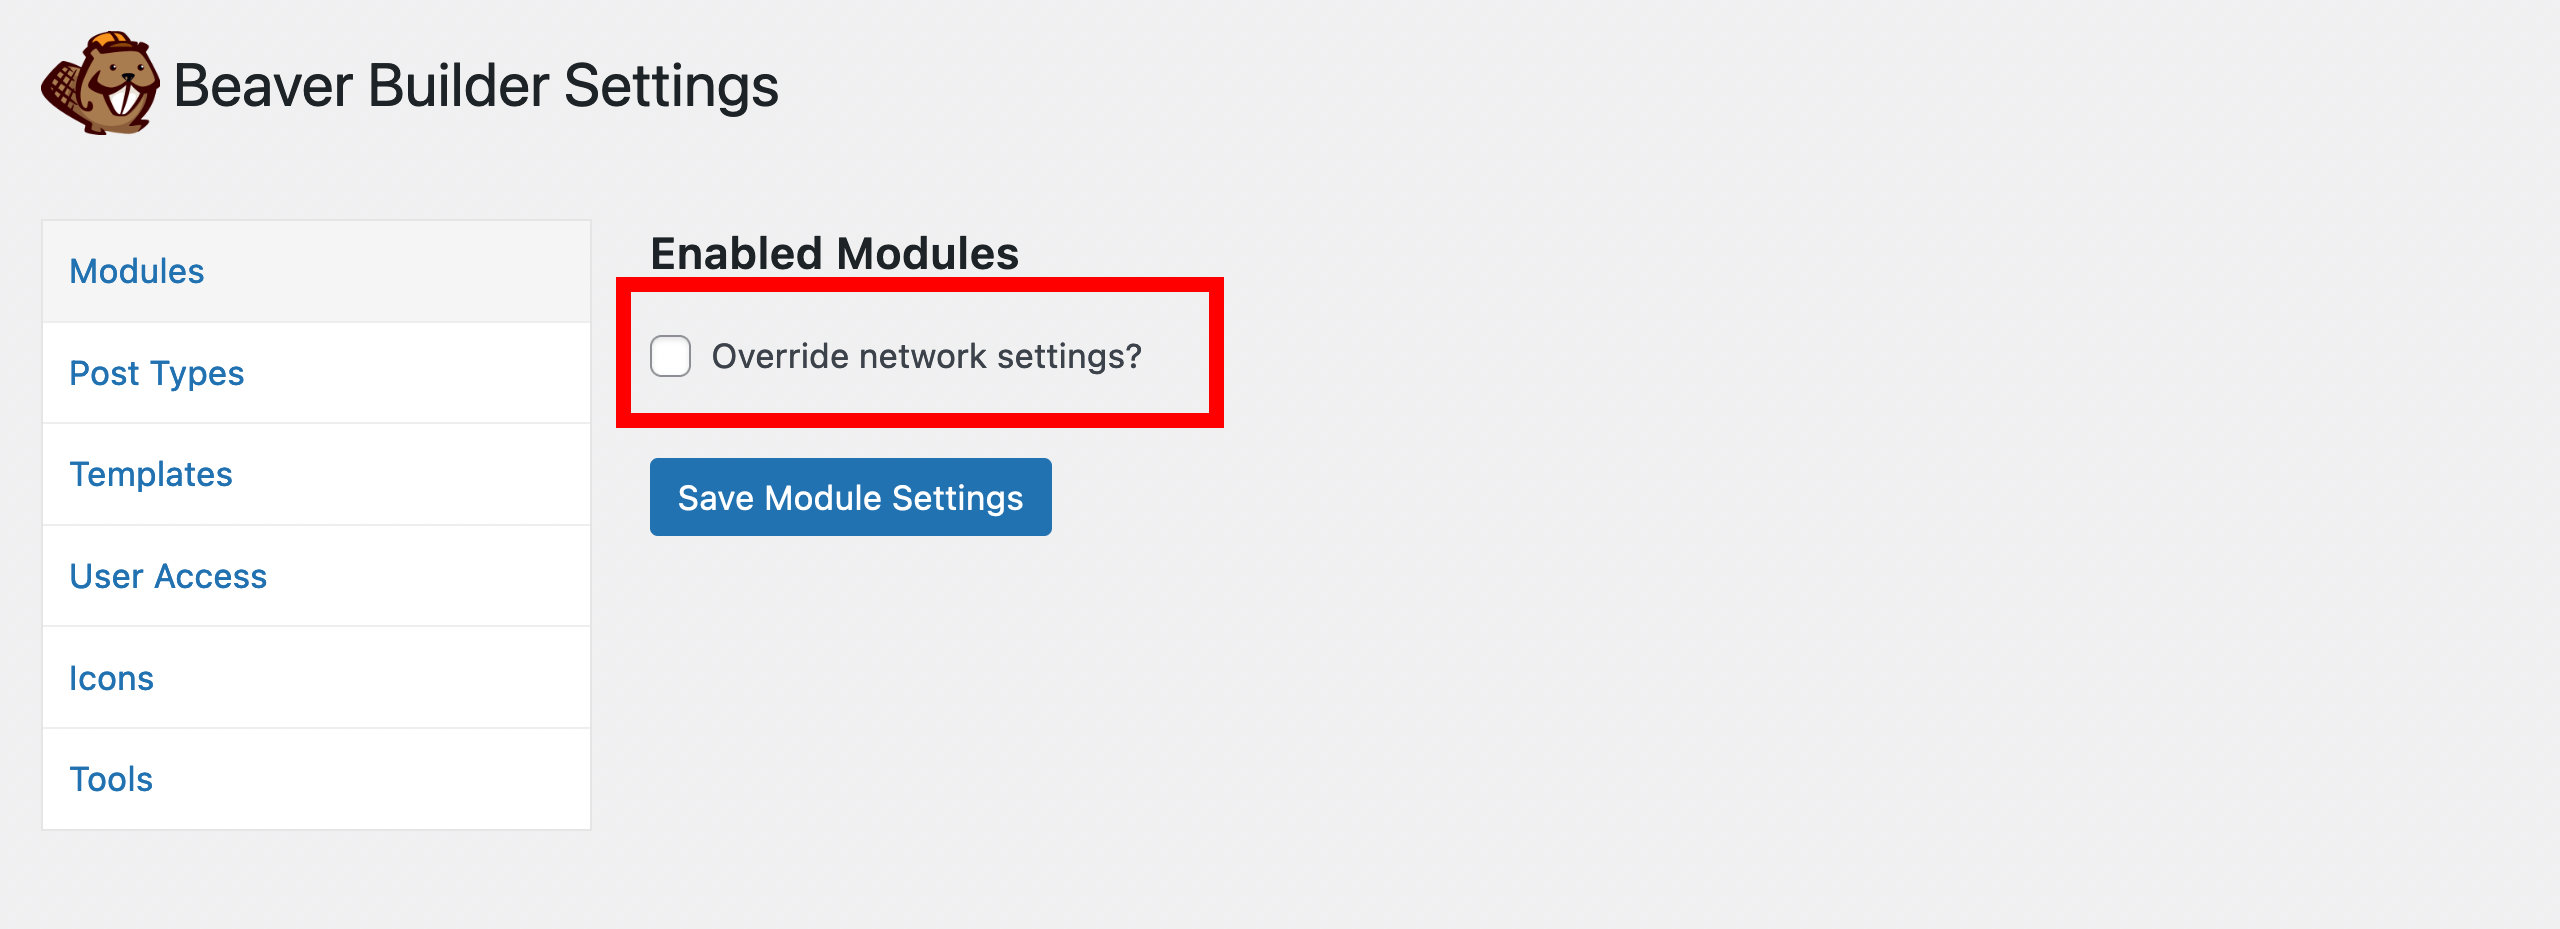
Users with administrator privileges can override Network-wide settings for their sub-sites
Login to your sub-site WordPress Admin Dashboard.
Navigate to Settings > Beaver Builder
Check the Override Network Settings? option and save changes.
If you want to override the network settings, you must check the Override Network Settings box for every Beaver Builder tab.
The Welcome, License, Branding, and Help Button tabs are not available for sub-site administrators.
In this section
📄️ Welcome
The Spacing section in the Advanced tab lets you change the default margin and padding for rows and columns. For modules, you can change the default margin values only.
📄️ License
The License tab in the Beaver Builder settings is where you enter your premium license key to unlock updates. This tab also lists which products are included in your license.
📄️ Modules
The Modules tab in the Beaver Builder settings lets you control which modules will display in the Content Panel in the Beaver Builder editor.
📄️ Post Types
The Post Types tab in the Beaver Builder settings lets you control which post types can use Beaver Builder.
📄️ Templates
The Spacing section in the Advanced tab lets you change the default margin and padding for rows and columns. For modules, you can change the default margin values only.
📄️ User Access
The User Access tab in the Beaver Builder settings lets you limit which Beaver Builder features users can access.
📄️ Icons
The Icons tab in the Beaver Builder settings lets you enable, disable icon sets and upload custom icon sets which can be used in Beaver Builder modules..
📄️ Branding (Ultimate & Agency)
The Branding tab in the Beaver Builder settings lets you white label the Beaver Builder plugin and BB Theme with your own brand and logo.
📄️ Help Button (Ultimate & Agency)
The Help tab in the Beaver Builder settings lets you enable or disable the Help button in the Tools Menu, or you can fine-tune which help options are available and add links to your own help services.
📄️ Tools
The Spacing section in the Advanced tab lets you change the default margin and padding for rows and columns. For modules, you can change the default margin values only.
📄️ Advanced Settings
The Advanced tab in the Beaver Builder settings is where you can enable and disable settings.
📄️ Import / Export Settings
The Advanced tab in the Beaver Builder settings is where you can enable and disable settings.
📄️ Template Exporter
The Template Exporter menu item in the Tools section of the WordPress Admin Dashboard lets you export your custom templates and distribute them from either a plugin or theme.
📄️ Export & Import Content
You can export your Beaver Builder content (templates, saved rows, columns, and modules) and import them into another site – or give them to clients, or sell them.
📄️ Layouts Menu
The Beaver Builder Layouts menu in the WordPress Admin Dashboard lets you create, edit, and delete saved content.